Google Has Released A New Option For Publications On GMB
The Google My Business team has created a free option to add posts
For a few days, a Google My Business option has been available for Bulgaria to create free publications that appear up to minutes in SERP. They are divided into several types, and today we will cover all of them and write a short guide on how to create them.
Google My Business has released a new option for creating free publications and events
Step 1 – You sign into your Google My Business account
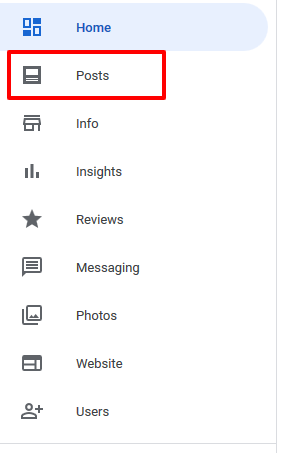
- 1.1. Sign in to your Google My Business account {business account must be validated} and find the button to the right named {Posts} and click on it
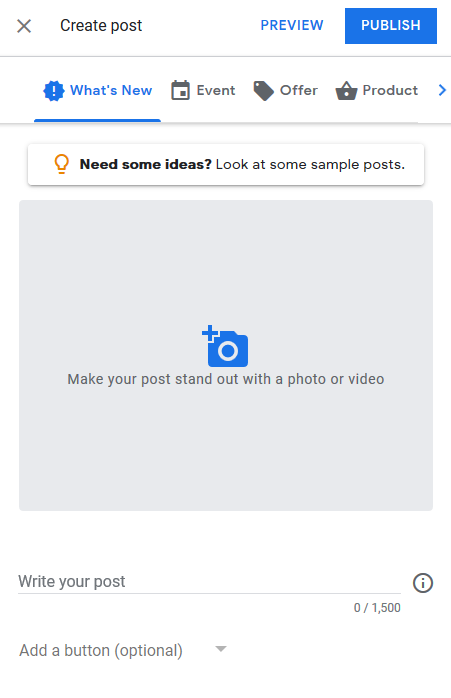
- 1.2. You should click {Write your post} and a window will open for you to explain the next step.
How to sign in to your Google My Business account
Step 2 – Select the type of post
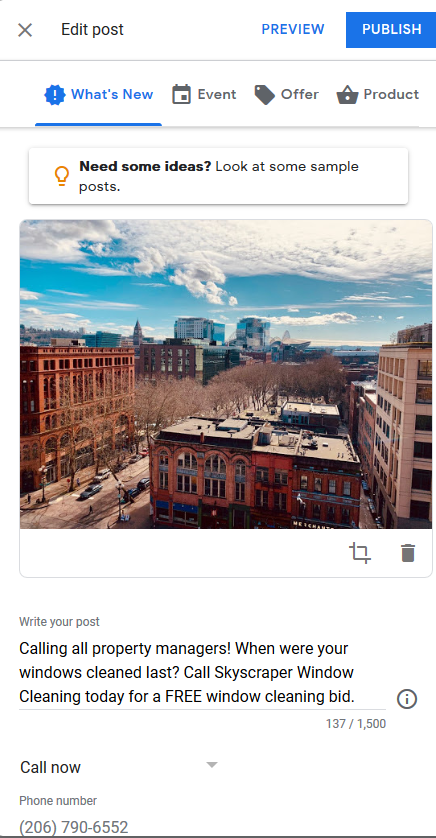
- 2.1. You must upload an image with equal sides – square size to avoid sizing from Google. The minimum size is 344 at 344px.
- 2.2. Then you have to write content between 100 and 300 words for the post, and you have to decide in advance what it will be.
Choose what content to post
Step 3 – Create an event or post
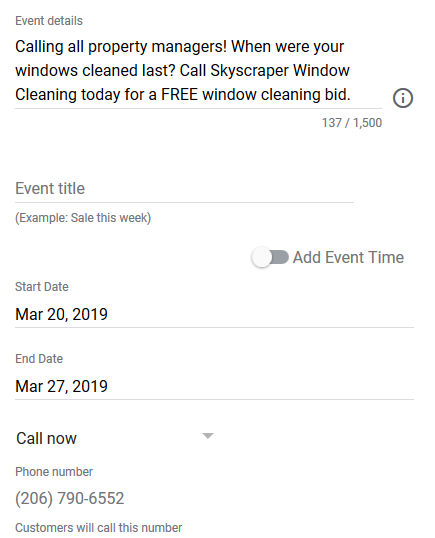
- 3.1. Once you’ve created a title for the event or posting description and added an image, follow these steps:
- 3.2. Choose the start date and time of the event or post, and the end date and time.
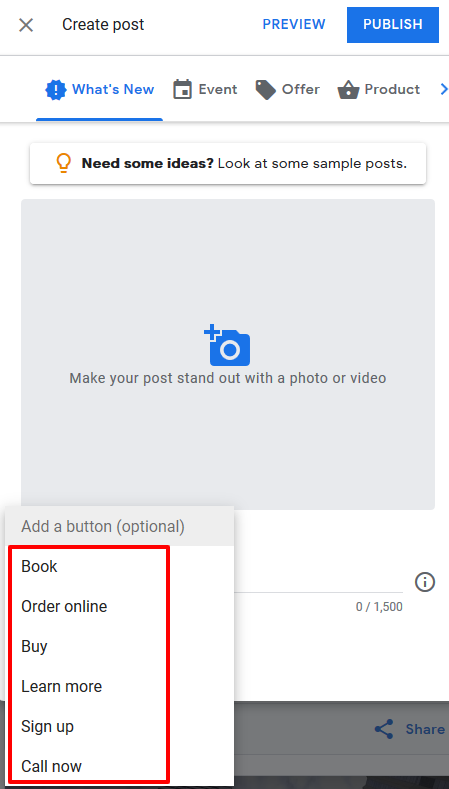
- 3.3. Add a {call to action} button for the event or post. Buttons can be the following, for all you need to add {url addresses}:
- 3.3.1. Learn more – an informative button that can lead to a more detailed post on the topic
- 3.3.2. “Book” – which is appropriate not only for an event but also for a publication that is not marked as an event, such as a hotel, holiday or restaurant offer.
- 3.3.3. “Sign up” is a pretty good event button
- 3.3.4. “Buy” – a suitable button if you do not make an event, but offer some offer from your online store or a website offering services.
- 3.4.5. Getting a quote is also a good button for a business offering a service
Create a {call to action} button for the event
Step 4 – Preview and Publish
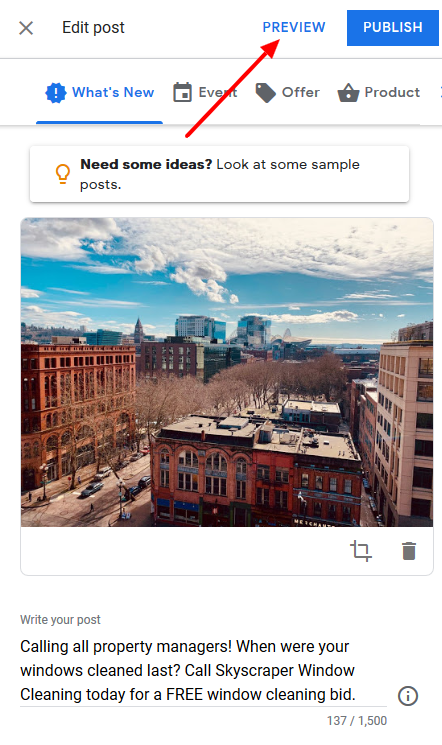
- 4.1. Once you have finished with all your event or post settings, you should press the blue button at the top left of the {Preview}
- 4.2. In the next window you will be able to view the event or post you have created and in this way you will only have to post, with the button located in the same place but named {Publish}
Visualize your post or event
Step 5 – What do things look like in Serp {Google results}
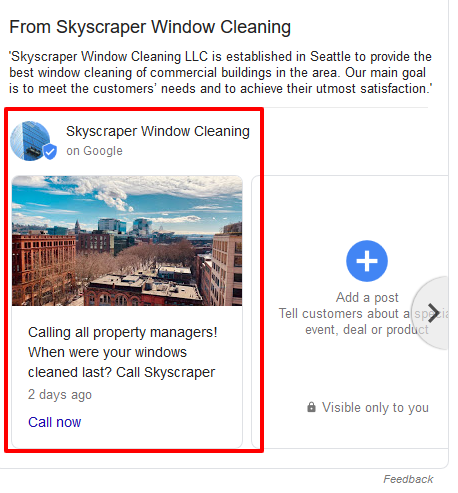
- 5.1. You see the created Google event that we demonstrated in this post
- 5.2. Next to it, on the right, we show a published offer for which the steps are exactly the same
- 5.3. if you have more than one event or post, you can use the arrow on the right to slide them
- 5.4. You can also delete events or posts
- 5.5. The benefits of this new feature are very early to predict, but like the publication of the Serpact ™ team to create a free website through Google My Business, we believe that the active use of any Google tool will help improve your digital results.
The result of publishing an event or a post.
